


Monschau / Aachen
Day trip to Monschau and Aachen.
I can recommend to walk the panoramic trail.


[osm_map_v3 map_center= “50.5561,6.2432” zoom=”15″ width=”95%” height=”450″ map_border=”thin solid ” post_markers=”1″ control=”” bckgrndimg=”” ]
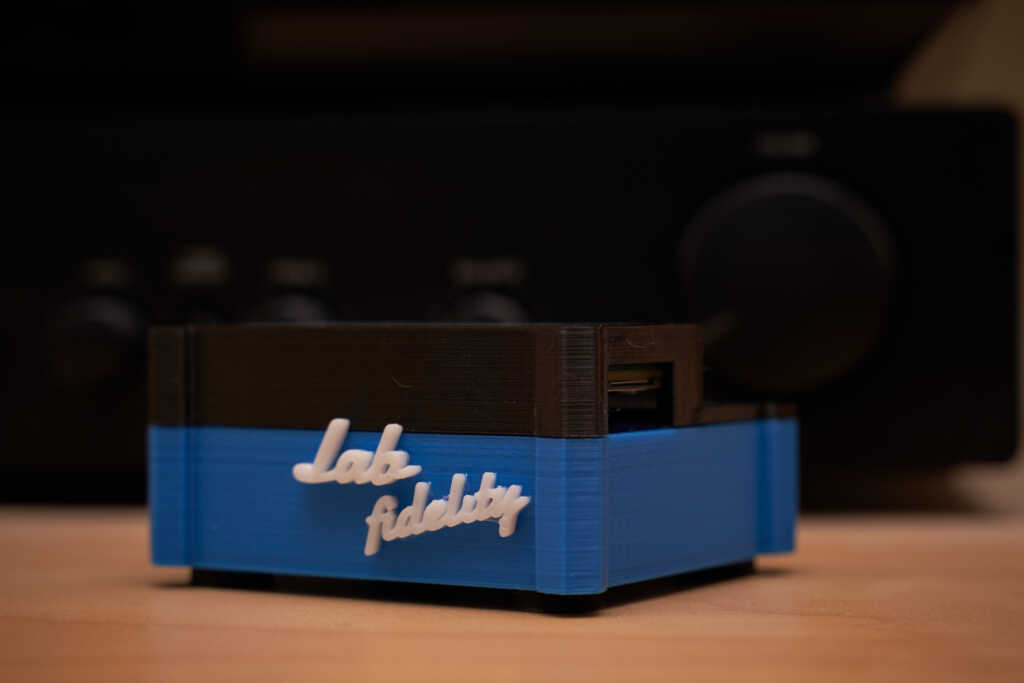
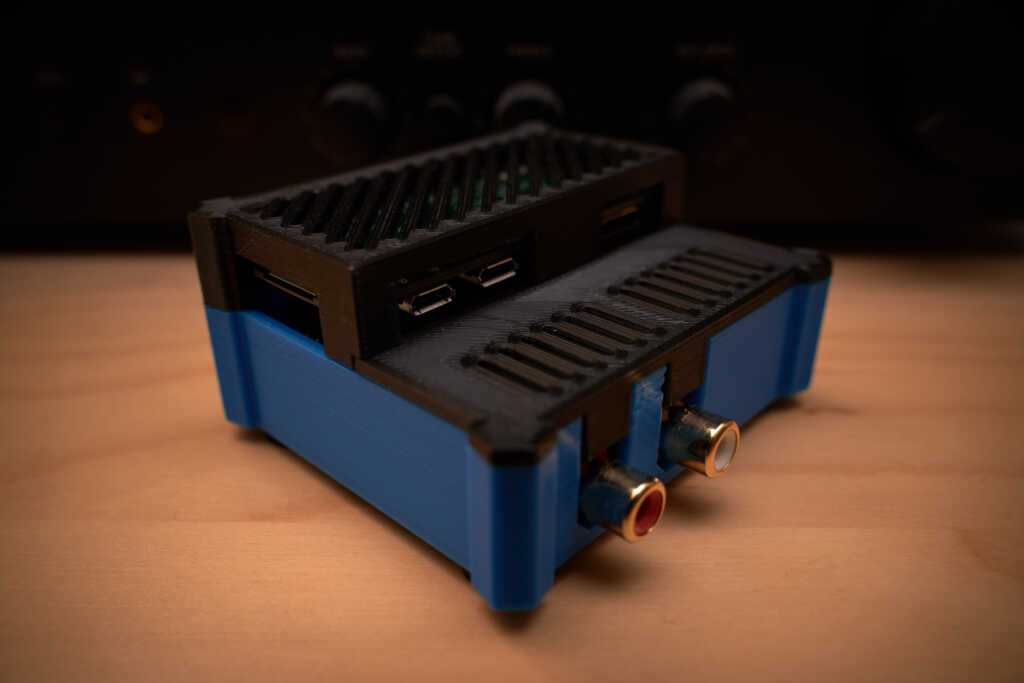
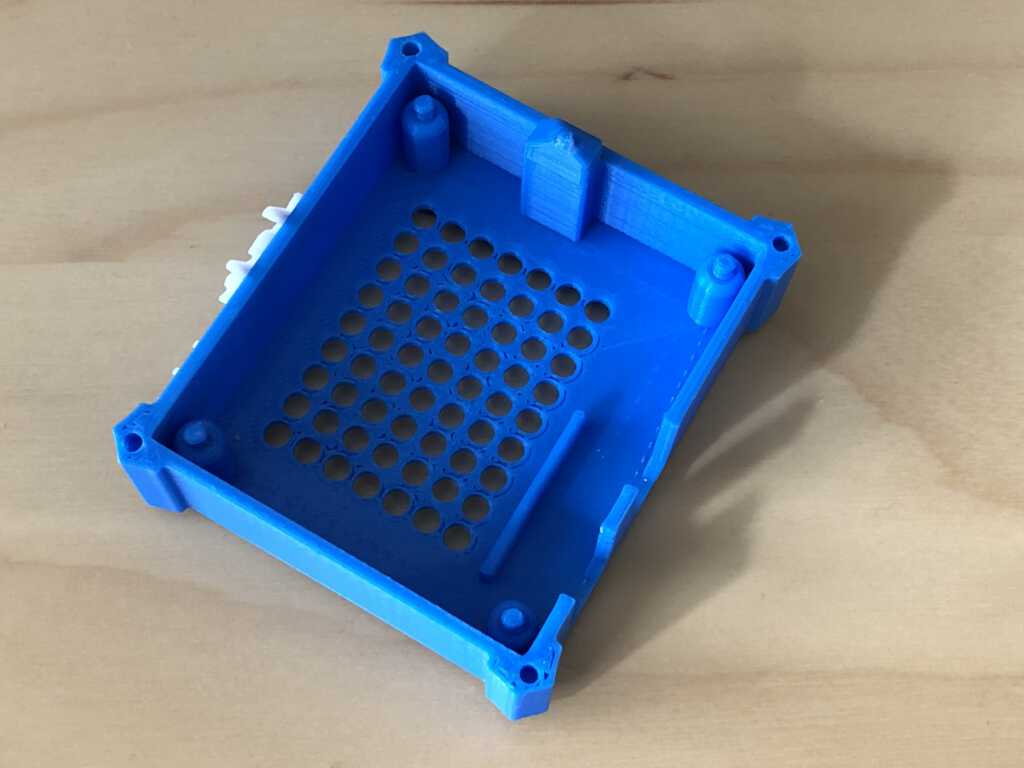
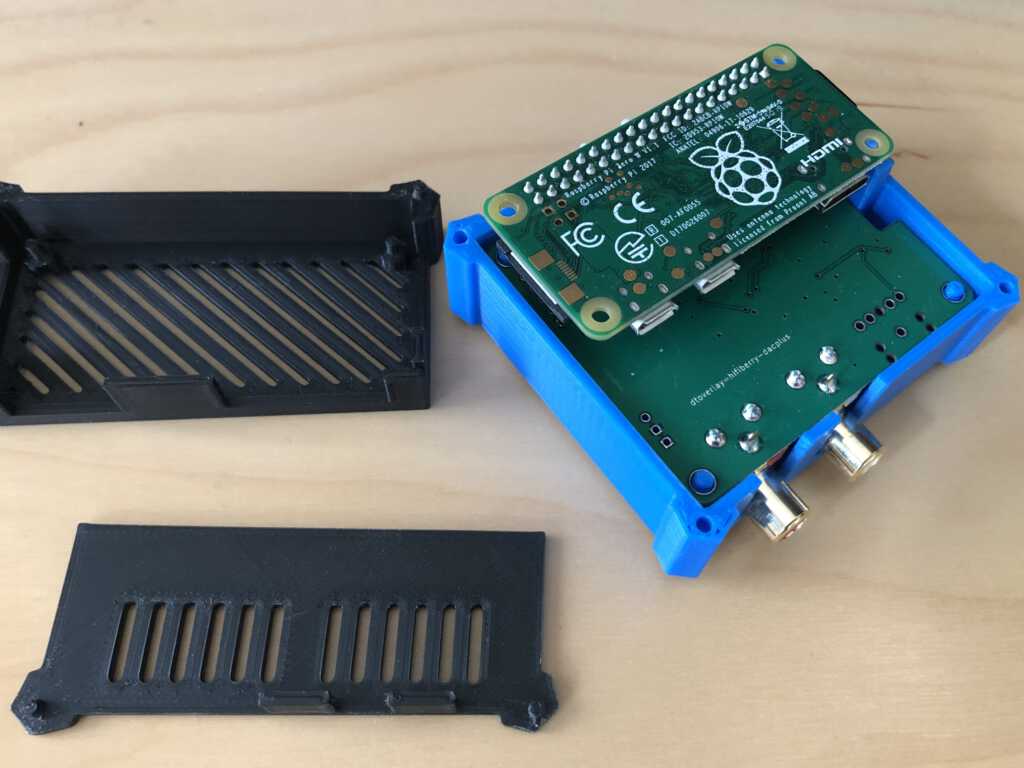
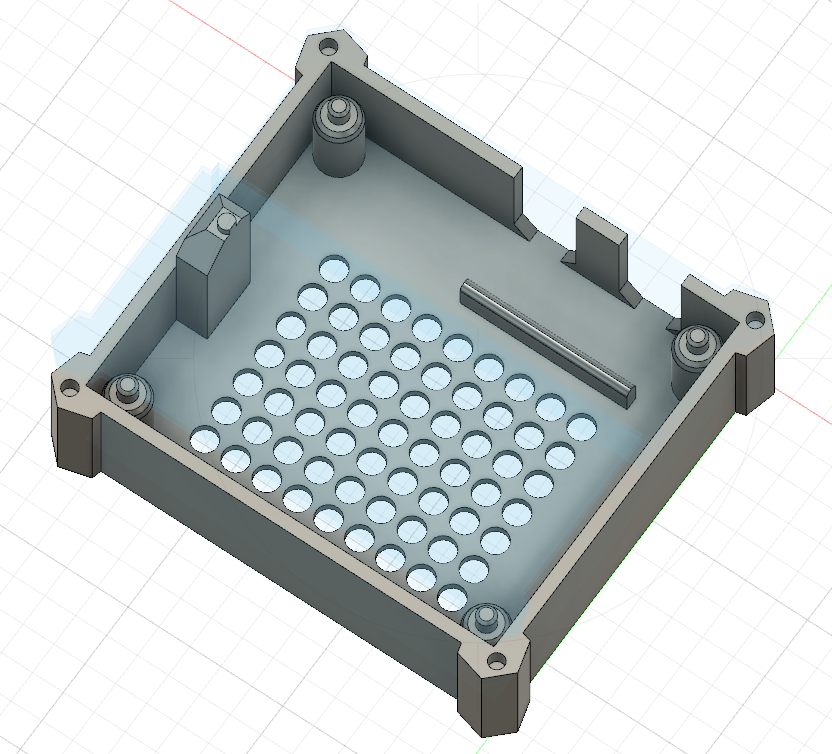
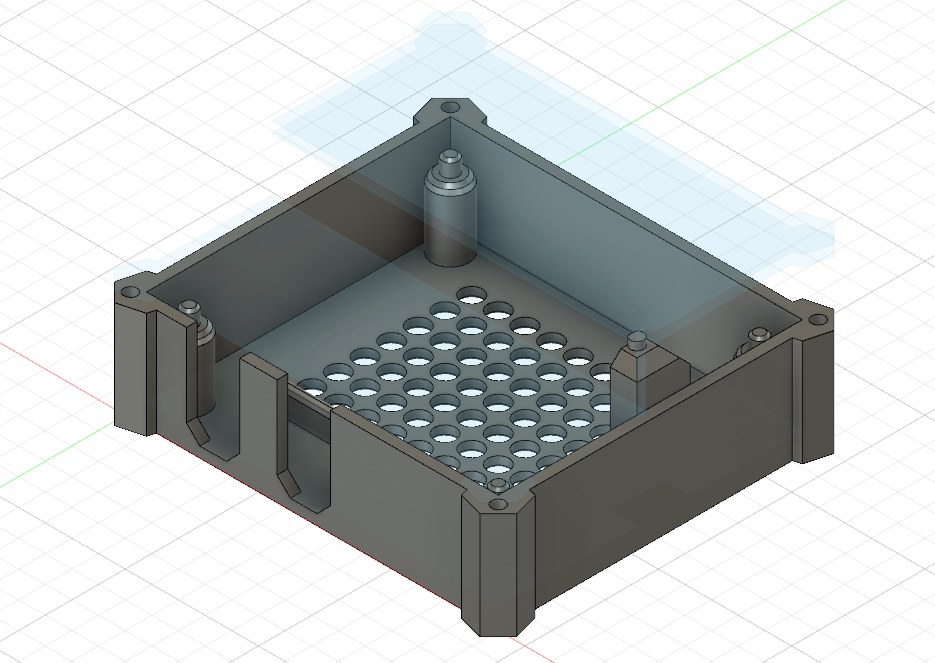
HifiBerry DAC pro + Pi Zero = 3D print case
Using the Raspberry Zero in combination with HifiBerry Dac pro isn’t the usual way but it works like charm. You don’t have to worry about cooling compared to a Raspberry pi 4 and you will also save some energy. On software side I’m using volumio. Setup including Wifi can easily be done on a regular Raspberry. You only have to switch the sd card when finished 🙂
Please feel free to download the .stl files here.
Raspberry keyboard layout not persistant
For whatever reason only in LXDE-Desktop keyboard regional settings made by raspi-conf are ignored afer reboot. In order to solve this:
In:
/home/pi/.bashrc
add:
setxkbmap -layout de
Happy Easter!

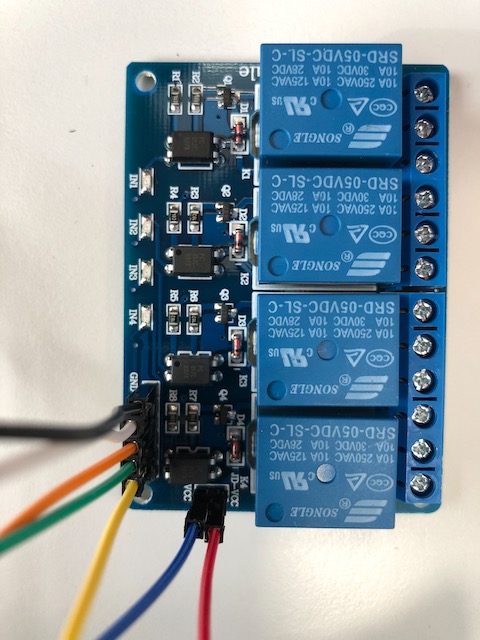
Raspberry pi relay module wiring
How is the right way to wire the relay module?
The Raspberry pi GPIO operates with 3,3V,
but the relay needs 5V to operate.
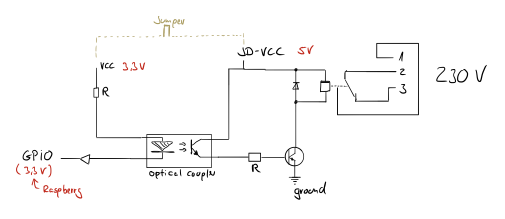
=> Open JD-VCC/VCC Jumper to isolate the two circuits
In addition no resistors are necessary.
They are already build in the relay module.
4 Channel 5V optical isolated relay module with Raspberry pi
a) Using external 5V power supply
- open JD-VCC/VCC Jumper
- connect external 5V to JD-VCC pin of Jumper
- connect GND with ground of external power supply
- connect Raspberry 3,3V to VCC pin of Jumper
- connect In1 with Raspberry GPIO-PIN of your choice
(no extra resistor necessary for GPIO → already on relay board)*
b) Using Raspberry as power supply
- open JD-VCC/VCC Jumper
- connect Raspberry 5V to JD-VCC pin of Jumper
- connect GND with ground of Raspberry
- connect Raspberry 3,3V to VCC pin of Jumper
- connect In1 with Raspberry GPIO-PIN of your choice
(no extra resistor necessary for GPIO → already on relay board)*
*Current flows from 3.3V, delivered by the Raspberry through an on board mounted resistor to the diode of the optical couppler and afterwards into the GPIO-PIN of the Raspberry when the GPIO-PIN is set to LOW.
At this side of the circuit no extra ground needed!
Sony a7 III (ILCE-7M3) focus frame color
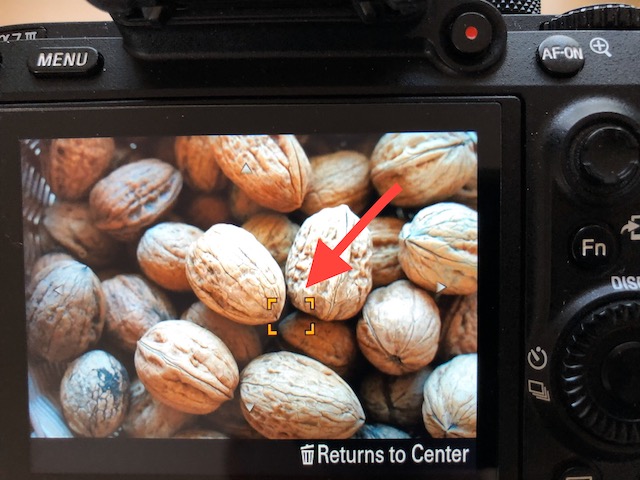
I was wondering what Sony developers might have thought when choosing the color of the focus frame?
Invisible grey!
It’s Sonys special camouflage focus frame!
I complained to Sony about that issue, hoping they may improve it with their next firmware update but it wasn’t fixed in 3.10 🙁
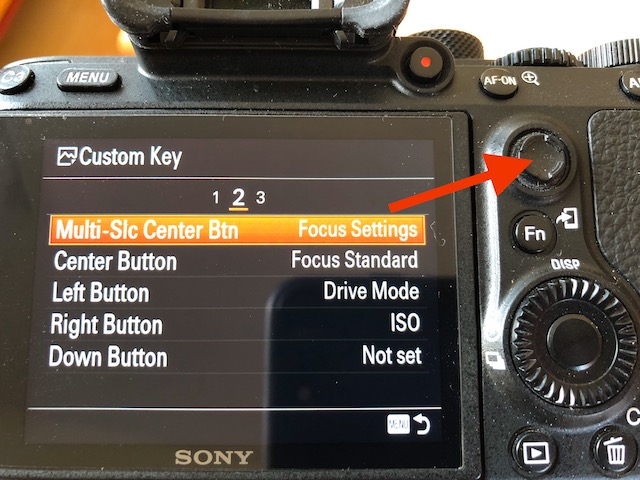
Finally I found a workaround that helps me a lot.
Simply map “Focus Settings” to the multi function button (joystick).
Next time you want to set the focus just press the joystick once. The frame is in orange now and therefore easier to see. It works on the backscreen as well as in the view finder.

Crown cap collection

Installing an unsupported Intel NIC driver on Windows Server Core 2019.
Trying to install Hyper-V Server Core 2019 for testing purposes on a regular workstation but always got the message “No active network adapters found”!
Installing the mainboard NIC drivers also failed with the message “No Intel(R) Adapters are present in this computer”!
Solution:
– Bios -> SecureBoot: Off
– Bios -> Operating System: Other OS
– Bios -> BootMode: Setup or TestMode
-Disable the driver signature enforcement on Server:
bcdedit /set LOADOPTIONS DISABLE_INTEGRITY_CHECKS
bcdedit /set TESTSIGNING ON
bcdedit /set NOINTEGRITYCHECKS ON
reboot
– Fetch the latest Intel drivers for your mainboard and ensure using NDIS68
– Use the free devmanview tool from NirSoft to get the correct PnP vendor string
– Modify the e1d68x64.inf file using the info from devmanview tool:
1. Identify the “section” : e.g. E15BC
2. Copy the two corresponding lines from [Intel.NTamd64.10.0.1] to [Intel.NTamd64.10.0] and remove the tailing “.10.0.1” in the section part.
3. Add a third line to the [Intel.NTamd64.10.0] block using the info found with devmanview tool. (e.g. … _15BC&SUBSYS_E0001458 )
%E15BCNC.DeviceDesc% = E15BC, PCI\VEN_8086&DEV_15BC
%E15BCNC.DeviceDesc% = E15BC, PCI\VEN_8086&DEV_15BC&SUBSYS_00008086
%E15BCNC.DeviceDesc% = E15BC, PCI\VEN_8086&DEV_15BC&SUBSYS_E0001458
Install the chipset drivers using the setup tool of your mainboard vendor.
Use pnputil to install the modified NIC driver
pnputil /add-driver e1d68x64.inf
reboot
Voila!
Due to the fact that it’s only a testing machine I waive to re-secure the machine.
In case you need it:
-> redo Bios settings
bcdedit /set LOADOPTIONS ENABLE_INTEGRITY_CHECKS
bcdedit /set TESTSIGNING OFF
bcdedit /set NOINTEGRITYCHECKS OFF
reboot
blaue Stunde
… ein neues Foto in der Galerie 🙂
Abenddämmerung bei Wermelskirchen. Blick in Richtung Köln.